Stay Connected Anywhere: The Ultimate Guide to International eSIMs
Unlike physical SIM cards, an international eSIM is a pre-installed digital profile that can be activated on a compatible smartphone in minutes, eliminating the need for a physical swap when crossing borders. It works by downloading a carrier’s profile directly to your device, allowing you to connect to local networks in multiple countries through a single subscription. The core advantage is instant, seamless connectivity, as you can switch between regional networks without ever touching a SIM tray—simply scan a QR code or use an app to activate, then manage plans through your phone’s settings.
What Exactly Is an International eSIM and How Does It Differ From a Physical SIM?
An international eSIM is a digital SIM profile that you install on a compatible smartphone, granting access to cellular networks across multiple countries without needing a physical card. It stores your network credentials in embedded hardware, and you activate it by scanning a QR code or through an app. The core difference from a physical SIM is that the eSIM is not removable or swappable; you manage it via software settings. A physical SIM requires you to insert, replace, or eject a plastic chip when changing carriers or traveling. With an international eSIM, you can purchase and download a data plan before departure, avoiding the hunt for local SIM vendors. You also keep your original physical SIM active for calls and texts while the eSIM handles data abroad.
Your phone’s existing SIM slot remains free, so you can run two numbers simultaneously—one home, one travel—without opening the tray.
Switching plans is done digitally, eliminating the risk of losing a tiny card.
Understanding the embedded chip: why there’s no plastic card involved anymore
The embedded chip, or eSIM, is soldered directly onto your device’s motherboard, eliminating the fragile plastic card and its physical slot entirely. Instead of swapping a removable chip, you download a digital profile that reprograms this built-in hardware over the internet, activating a new international carrier within minutes. This means no more hunting for a tiny card, no risk of losing it during travel, and no need to carry a paperclip to eject a tray. Because the chip is fixed inside, your phone stays more water-resistant and structurally robust, while switching providers becomes a purely software-driven action. Embedded chip technology removes the plastic card from the travel equation, turning connectivity into a seamless digital command.
Summary: The embedded chip is permanent hardware in your phone, so no plastic card is needed—activation and carrier switching happen entirely through downloaded profiles.
How the profile gets downloaded and activated on your device in minutes

After purchasing an international eSIM, the carrier emails a QR code or provides a direct installation link. You scan that code or tap the link, and your device securely downloads the encrypted profile, which contains your new number and network credentials. This takes under two minutes on a stable Wi-Fi connection. Once downloaded, you activate it by selecting the profile in your settings and enabling data roaming; your phone instantly registers to the local partner network. The entire process is digital, requiring no tray ejection or paperwork, and activation completes automatically upon first network connection. If multiple profiles exist, you simply toggle the active one without restarting.
In minutes, you scan a QR code or tap a link, download the encrypted profile, and enable it in settings—your device connects to the local network immediately, with no physical card insertion.
The Real Cost Breakdown: Is Going Global With an Embedded SIM Cheaper Than Roaming?
When you land in Lisbon and your phone pings with a roaming alert—$12 per megabyte—the math starts itself. An international eSIM flips that script because you pre-pay a flat rate for a data bundle before takeoff, often $20 for 5GB that works across multiple countries. Roaming, meanwhile, piles daily fees onto your existing plan, so a week of maps and messaging can silently hit $70 or more. The real cost breakdown hinges on your usage pattern: short trips with light data favor roaming’s convenience, but any multi-country itinerary or heavy video use makes the eSIM dramatically cheaper. The kicker is that the embedded SIM eliminates the “surprise bill” entirely—you see the exact price upfront and can top up only if needed.
For a two-week backpacking run through three European cities, the eSIM saved me over $50 compared to my carrier’s daily roaming cap, and I never once checked a bill mid-trip.
That predictability is the hidden value, because budget anxiety kills spontaneity faster than a dead battery.
Comparing per-gigabyte prices across popular travel regions
Comparing per-gigabyte prices across popular travel regions reveals sharp contrasts that directly shape your eSIM choice. In Europe, regional plans often drop below $1.50 per GB, while Southeast Asia typically lands between $2 and $3, and North America frequently exceeds $4 for short-term data. However, a single global eSIM may cost double the regional rate for the same destination, so matching the coverage map to your itinerary matters more than the headline price. For trips spanning Japan and South Korea, look for East Asia bundles that undercut separate country packs by nearly 40%. Meanwhile, Middle East and Africa plans carry the highest per-GB premiums, making multi-region passes a better value than purchasing each nation individually. Region-specific eSIM data pricing is therefore the fastest lever for cutting your connectivity budget.
Hidden fees to watch for—data-only plans, top-up tiers, and expiry windows
When comparing embedded SIM costs, the cheapest headline price often hides the real trap. Hidden fees for international eSIM data emerge through three specific channels: data-only plans that block voice verification texts (forcing costly workarounds), top-up tiers that require buying larger, pricier bundles than you actually need, and expiry windows that silently delete unused data, making you repurchase at full price. Even a “7-day” plan may count from activation, not purchase, so a delayed trip turns your paid data into dust. Before committing, audit the refresh cycle and minimum top-up increment, or your “cheap” plan becomes costlier than roaming.
- Check if the plan supports SMS verification, or risk buying a separate voice pass.
- Compare the smallest top-up tier’s price-per-GB against your actual usage—not the advertised promo rate.
- Note the exact expiry trigger: activation vs. first-use, and whether rollover exists.
- Look for “maintenance fees” deducted from your balance after prolonged inactivity.
Picking the Right Global Data Plan for Your Trip Length and Usage Habits
Match the plan to your real schedule—a weekend getaway barely needs 1GB, but a two-week remote-work stint demands 10GB or more. Check your habits: streaming maps and video chat burn data fast, while offline downloads and Wi-Fi-heavy cafés let you choose a smaller, cheaper bucket. For trips over a month, pick a rolling monthly plan instead of a fixed 30-day pass, so you don’t pay for unused days. Q: How do I avoid overbuying for a 10-day trip? A: Estimate 0.5GB daily for light browsing, or 1.5GB if you’re hotspotting your laptop. Verify the eSIM activates on landing, not at purchase, to stretch validity. Finally, read the fair-use policy—unlimited plans often throttle after a few gigabytes, making a large fixed bucket smarter for heavy users.
Short-haul vs. long-haul: daily passes, 30-day buckets, or annual allowances
For quick getaways, daily passes are your best friend—pay for exactly the days you’re abroad, then let the plan expire. A 30-day bucket suits medium trips, like a month-long backpacking stint, where you get a set gigabyte pool without worrying about daily resets. For frequent travelers, an annual allowance simplifies life: one plan, one expiry, and you never fumble with top-ups mid-journey. Here’s the cheat code:
- Count your total travel days per year.
- If under 15 days, stack daily passes.
- If 15–45 days, grab a 30-day bucket.
- If over 60 days, commit to an annual allowance.
Short-haul travelers save money by avoiding unused data, while long-haulers win on convenience and lower per-day cost.

Matching coverage maps to your actual destinations—not just “global” labels
Don’t trust a plan that simply says “Global.” Before you buy, pull up the provider’s coverage map and zoom into every city, airport, and rural stretch you’ll actually visit. A “global” label often masks gaps in regions like Central Asia, parts of Africa, or offshore islands, leaving you with no signal exactly when you need it. Verify local network partners against your real itinerary—not regional averages—because a single unsupported country can derail navigation or hotel check-ins. Cross-check your destinations one by one, and if a map shows 2G-only fallback, factor that into your data expectations. Coverage that works in a capital doesn’t guarantee it works 50 kilometers away.
How to Install, Switch, and Manage Multiple Profiles on One Phone Like a Pro
Treat your phone as a command center by installing each international eSIM as a distinct profile—scan the QR code from your provider’s app, then label profiles by region or purpose (e.g., “Europe Data” or “UK Voice”). Master switching by never deleting a profile; instead, toggle cellular lines in Settings, keeping your primary SIM active for calls while routing data to the local eSIM. For seamless management, disable auto-network selection and manually pick carriers per destination to avoid roaming surprises.
Pro-level control means assigning default lines for voice, SMS, and data separately—so you can receive banking OTPs on your home number while streaming on a cheap regional plan.
Finally, pre-download multiple profiles before travel, then activate them only when needed; this preserves battery and prevents accidental charges.
Step-by-step activation flow: scanning a QR code, setting a default line, and labeling profiles
To get rolling with your international eSIM, just open your phone’s settings, tap “Cellular” or “Mobile Data,” and choose “Add eSIM.” Scan the QR code from your provider’s email—your phone will instantly download the profile. Next, pick which line handles data, calls, and texts by tapping “Default Line” and selecting the new eSIM for data while keeping your home SIM for calls. Finally, long-press the new line’s name and rename it something like “Japan Trip” or “UK Data”—this keeps your lock screen and settings crystal clear. Scanning a QR code and assigning a default line takes under two minutes, but labeling saves you from accidentally burning roaming fees on your primary number later.
Scan the QR code, set the new eSIM as your default data line, and rename the profile for easy switching—done.
Juggling home and travel numbers—when to enable data roaming, when to keep cellular off
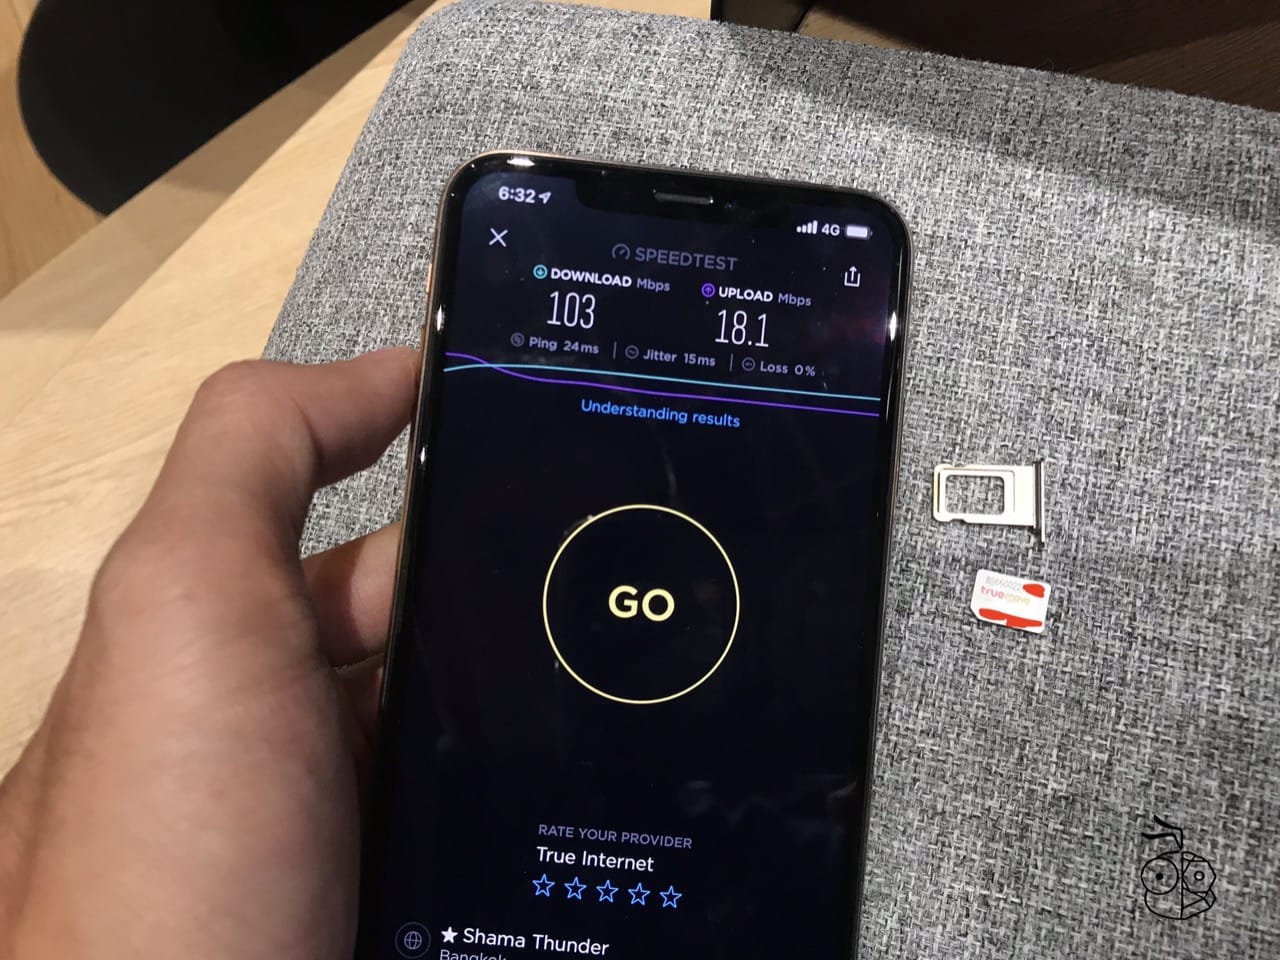
Juggling your home and travel numbers on an international eSIM comes down to ruthless control over your data settings. Keep your home SIM’s cellular **disabled for data** while abroad to avoid catastrophic daily roaming charges—use it strictly for SMS verification codes and iMessage. Your travel eSIM should be your default data line. Enable data roaming *only* on the travel eSIM, as it’s already priced for international use. If you’re in a dead zone or want to save battery, toggle both lines to “off” and rely on Wi-Fi calling. For a smooth trip, follow this sequence:

- Disable automatic network selection on your home SIM.
- Switch your primary data line to the travel eSIM.
- Turn on data roaming for the travel eSIM only.
- Keep the home SIM active for calls/texts, but with data off.
Smart Troubleshooting and Usage Tips for a Seamless Connection Abroad
For a seamless connection abroad, smart troubleshooting with your international eSIM begins by verifying that data roaming is toggled on for your specific eSIM line—not your primary SIM—in your phone’s cellular settings. If speeds lag, manually select a local network operator instead of relying on automatic search, which often clings to weak towers. Before departure, install the eSIM and run a connectivity test to confirm activation, then disable your home SIM’s data to prevent accidental charges. When abroad, toggling airplane mode for 10 seconds forces a fresh network registration, clearing most connection drops. If you lose service entirely, re-scan the eSIM QR code or re-download your profile from the provider’s app, ensuring you have offline access to that backup. Never reset network settings, as this erases the eSIM profile. Instead, reboot, then adjust APN settings if New Zealand eSIM your provider supports manual configuration.
Always download your eSIM’s installation guide and provider support chat before departure to troubleshoot without Wi-Fi.
Finally, keep your eSIM’s data saver mode off—this may secretly block background connectivity that maintains smooth handoffs between towers.
What to do if your data stops working mid-trip—APN settings, manual network selection, and restart tricks
When your international eSIM data drops mid-trip, first toggle airplane mode for 30 seconds—this forces a fresh registration with the local tower. If that fails, manually check your APN settings; many eSIM providers require a specific APN like “globaldata” or “internet,” which must match exactly, including lowercase letters. Next, open network settings and switch from “automatic” to manual selection, then choose a different local carrier (e.g., a secondary network) if your primary partner is congested. *A reboot often resolves hidden profile conflicts, but power-cycle twice if the first restart doesn’t re-trigger the eSIM activation.* Finally, verify that data roaming is enabled for your specific eSIM line in the SIM menu—not the physical SIM—and disable Wi-Fi calling, which can intercept packet sessions.
Extending your remaining data: tethering etiquette, offline maps, and compression apps
To stretch your international eSIM data, prioritize offline map downloads before departure, as navigation consumes significant data when roaming. When tethering, treat your connection as a shared resource: disable automatic cloud backups and app updates on connected devices, and disconnect once tasks finish to avoid silent background drain. Compression apps, such as data-saving browsers or VPNs with built-in optimizers, can shrink web pages and images, reducing consumption by up to half. Monitor usage through your eSIM dashboard and set a low-data alert. Combine these habits to make every megabyte count.
- Download offline maps for your destinations to avoid real-time data loading.
- Adjust tethering settings to “metered” on all devices to block heavy updates.
- Enable a compression proxy or data-saver mode on your browser for text-heavy sites.
- Turn off automatic media previews in messaging apps while roaming.